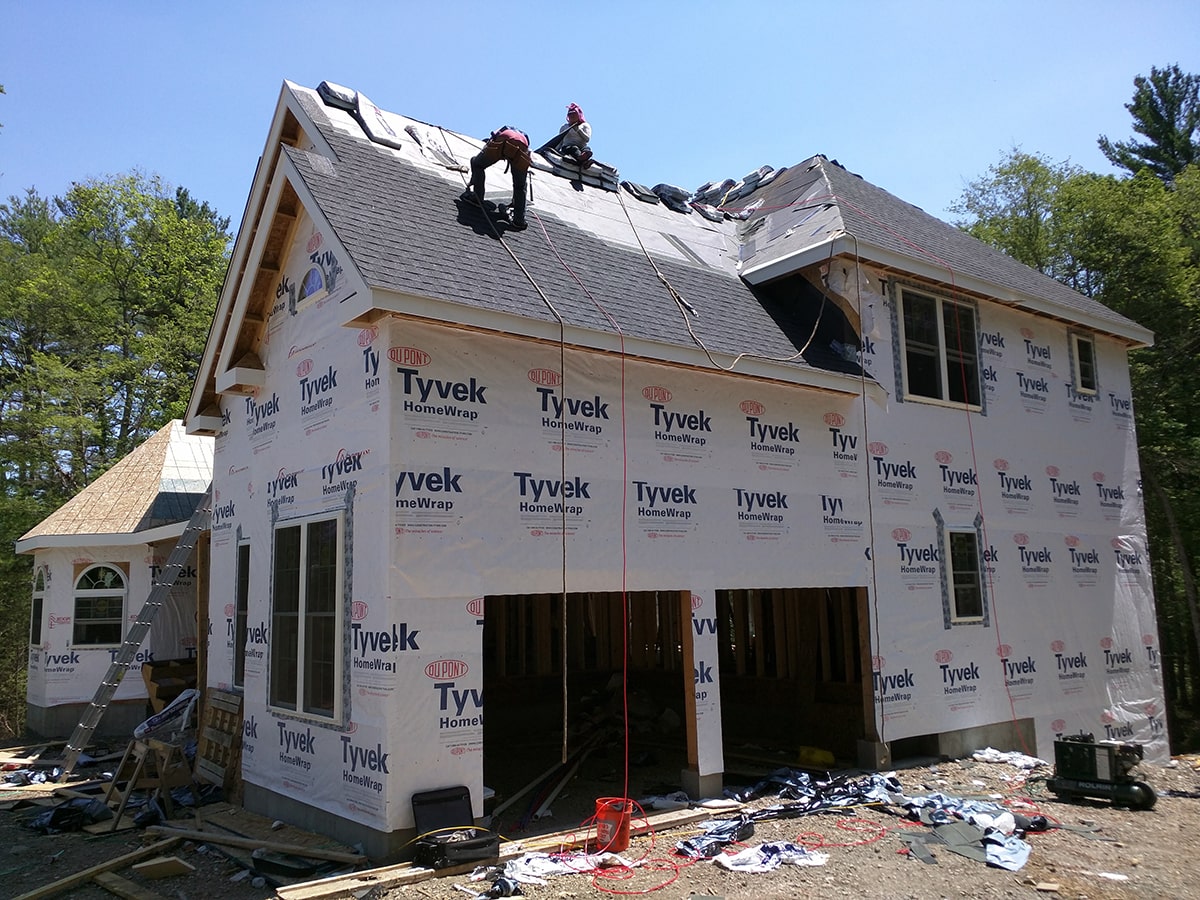
Roofing

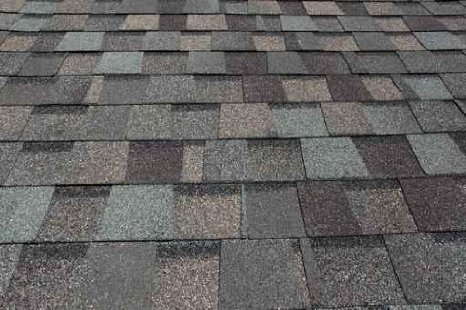
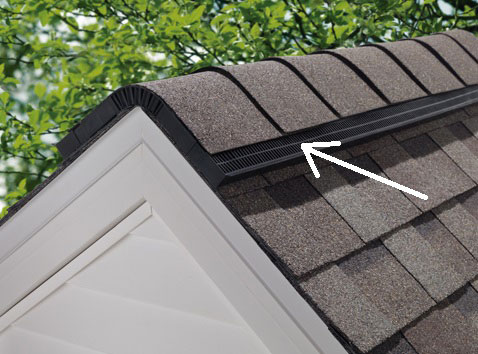
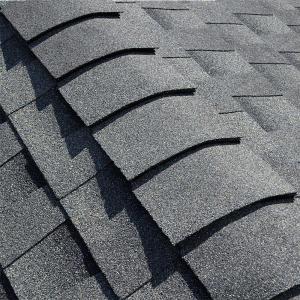
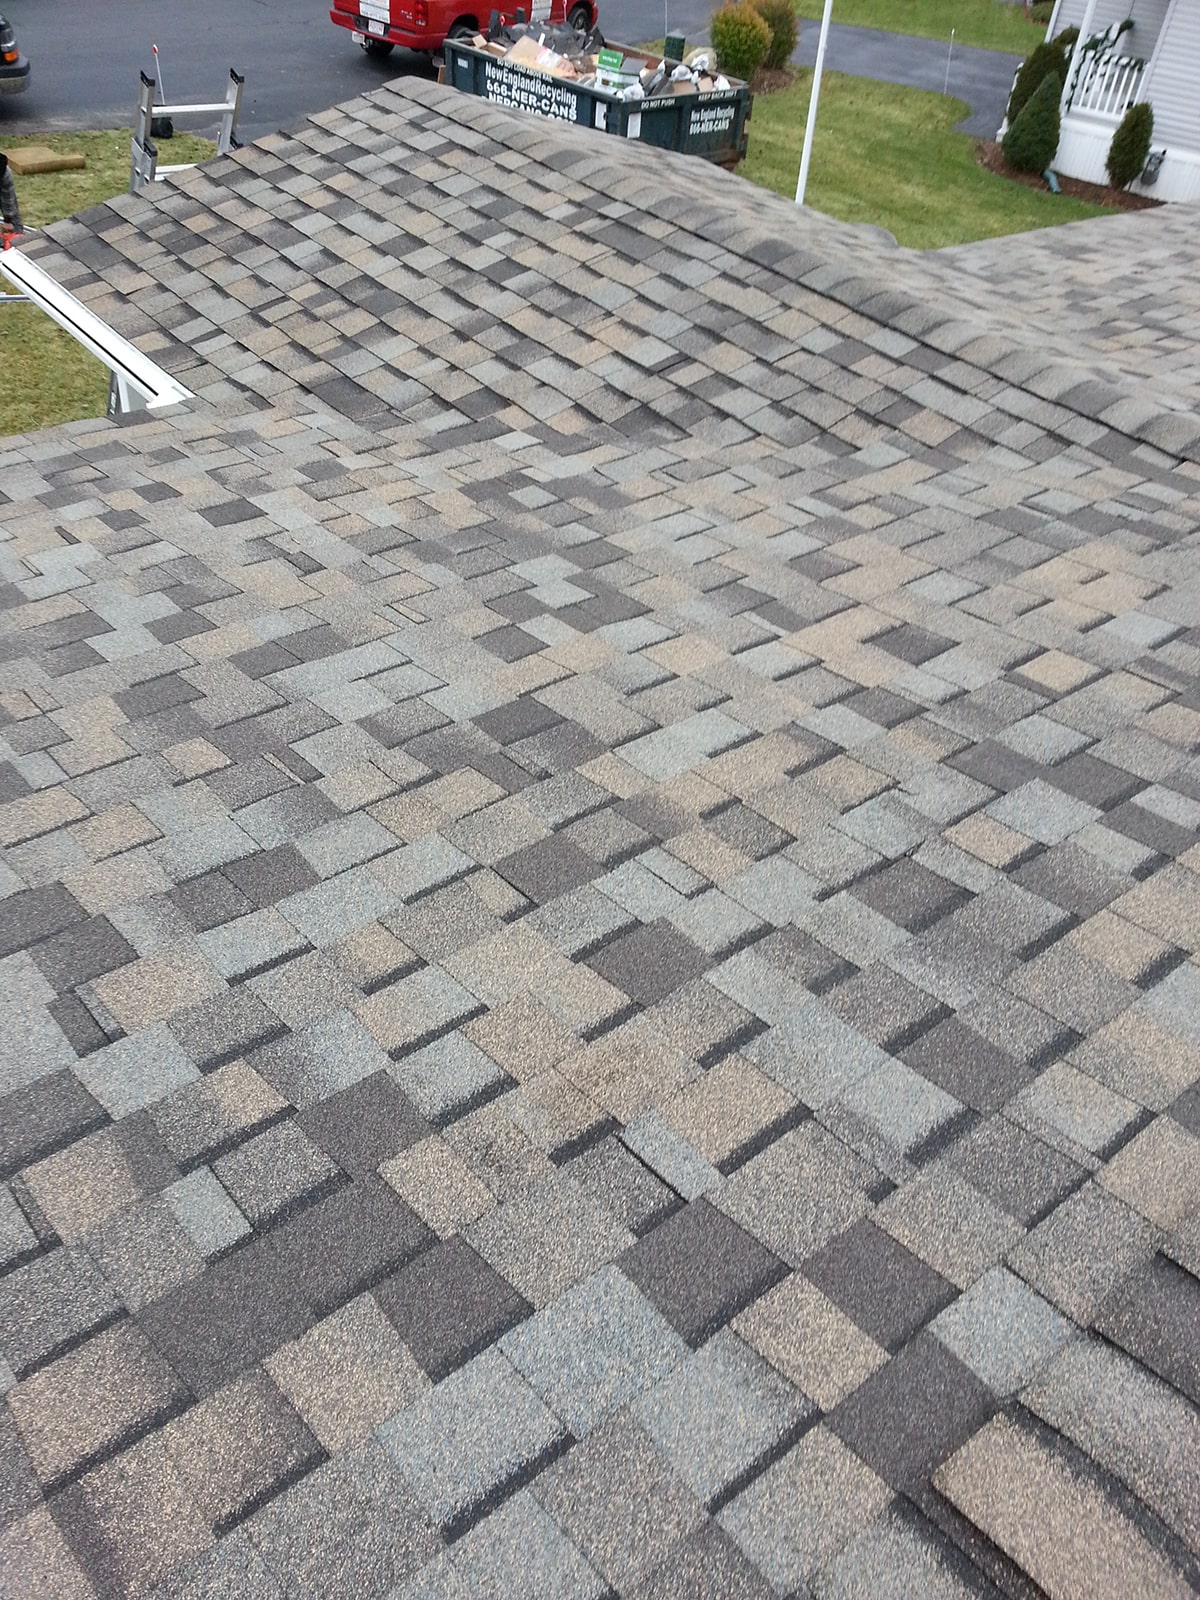
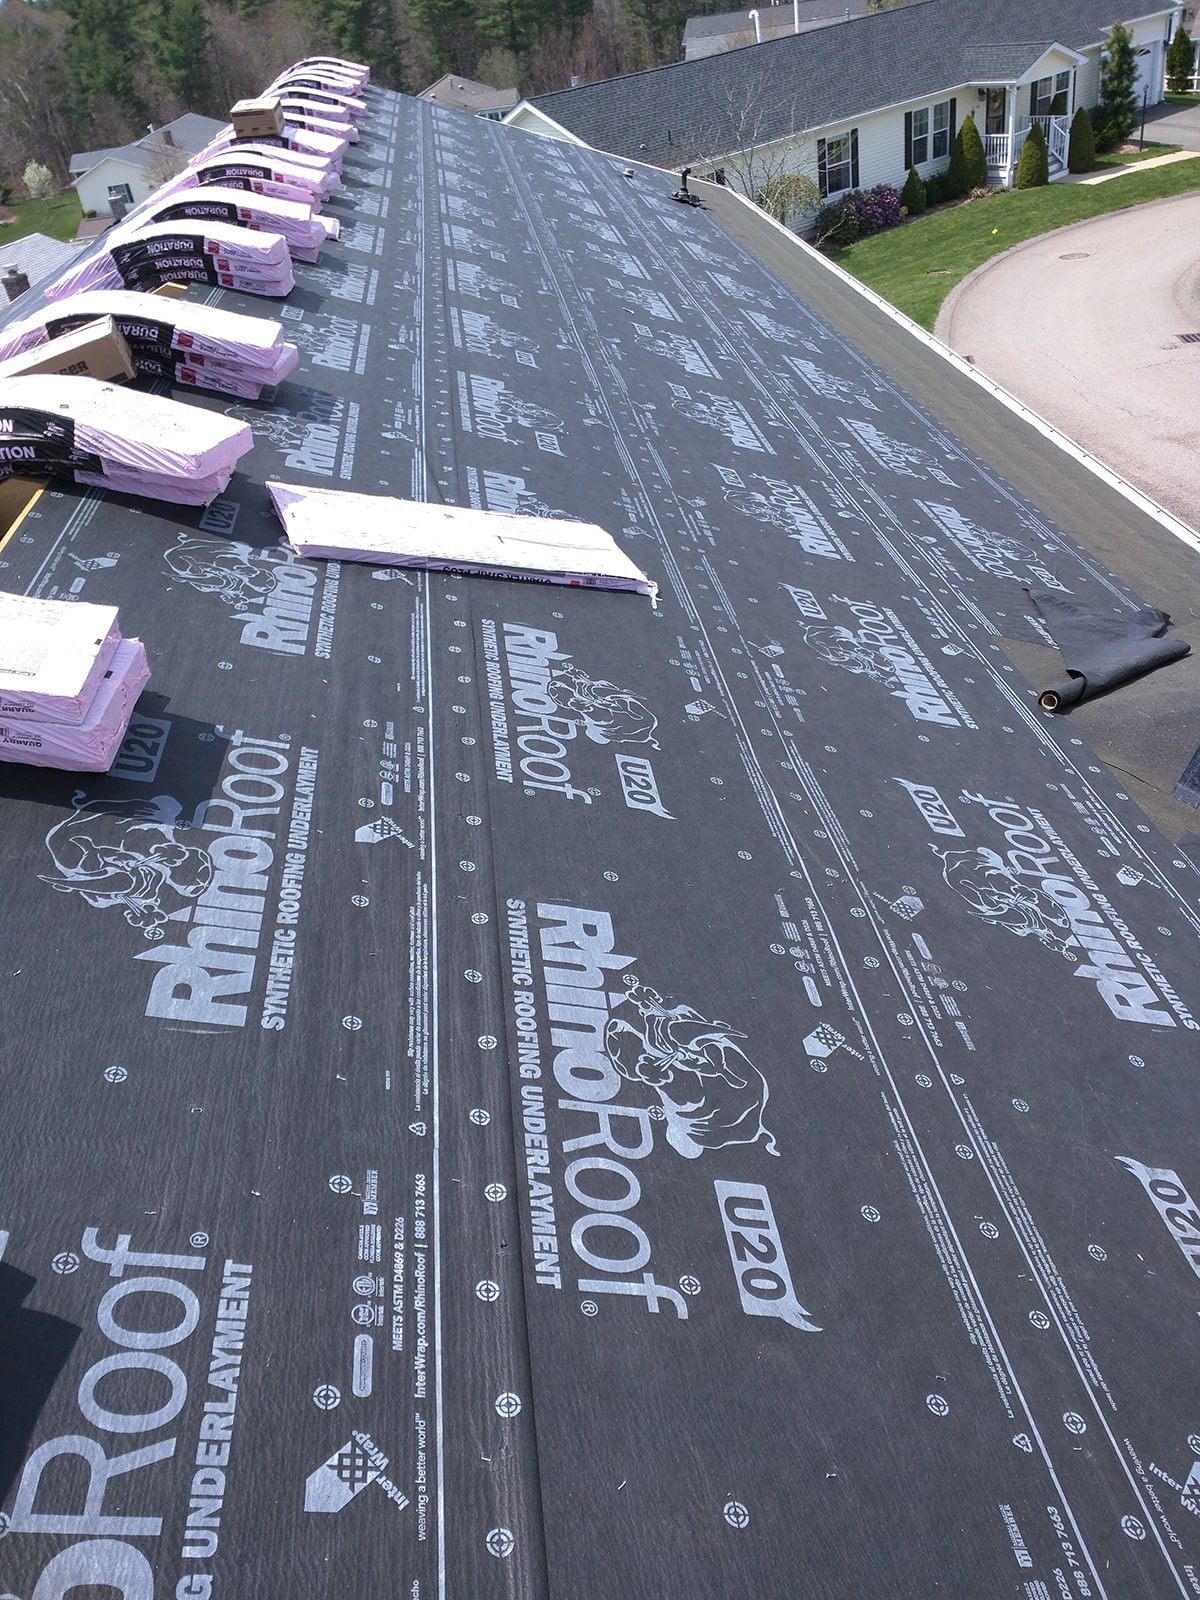
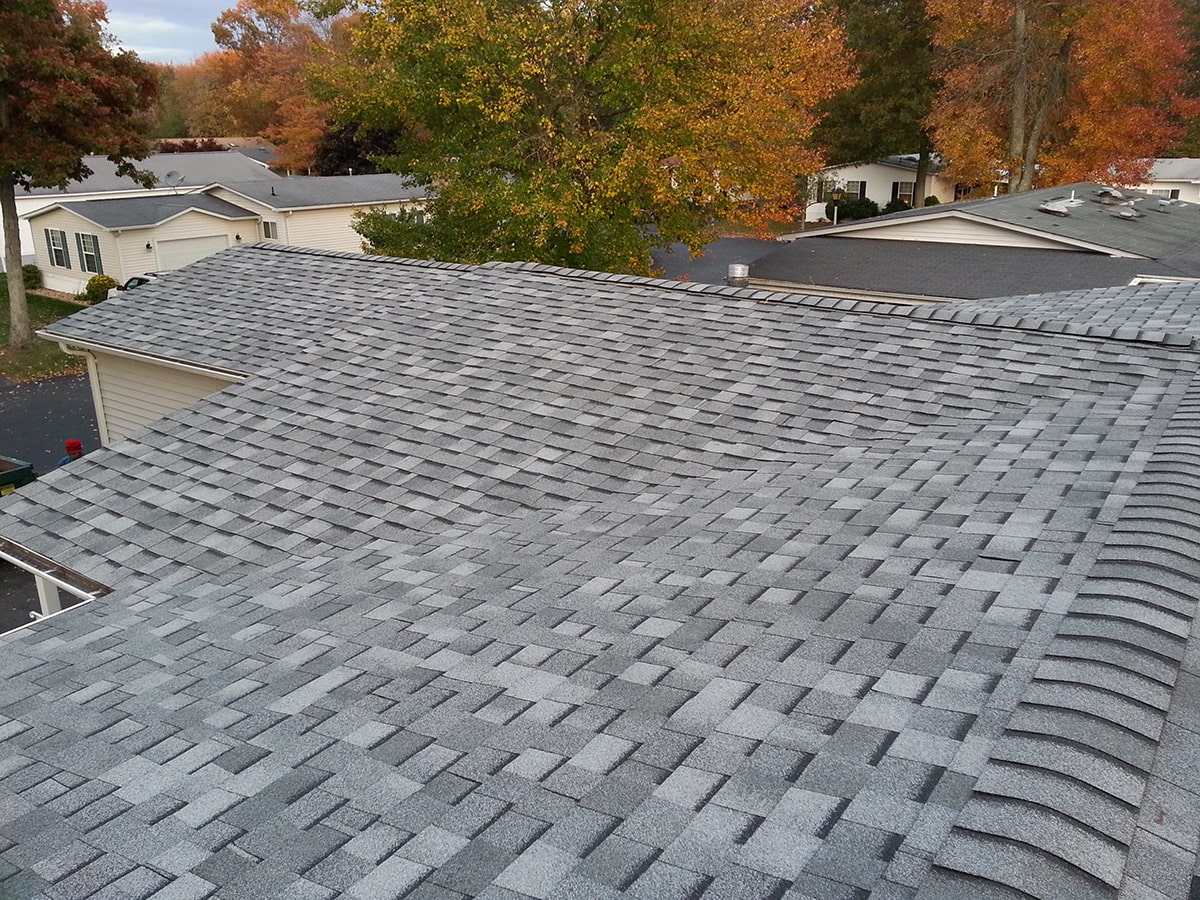
We install shingles from all of the top trusted manufacturers such as BP, Certainteed, GAF, and Owens Corning, all available with lifetime warranties. You can choose from several styles of shingles such as architectural shingles which are by far the most popular, as well as three tab shingles, and for those after a distinguished look there are also the designer style shingles.

Components of A Roofing System

It is a good idea to become familiar with the terminology in your roofing contract and in the installation process described below. These are the products commonly used in asphalt shingle roof installations.

Drip edge

This is an aluminum flashing that goes around the perimeter of the roof. It is available in the three colors pictured as well as copper.

Vented drip edge pictured below is a different type that is used to create soffit ventilation in the event none is existing.

5161781
Brown Drip Edge

copper-drip-edge-lg
Copper Drip Edge

mill-finish-drip-edge-lg
Mill Finish Drip Edge

vented-drip-edge-lg
Vented Drip Edge

white-drip-edge-lg
White Drip Edge

Ice & water shield

This is a rubberized roll of underlayment that adheres to the roof decking. It is three feet in height and is designed to extend over the soffit which is typically about one foot wide. The remaining two feet extend beyond the exterior wall of the home. Its purpose is to prevent water intrusion in the event of an ice dam. An ice dam occurs when ice builds up over your soffit causing a dam when the snow from your roof melts. It melts due to heat escaping through the roof from the inside of your home and can back up under your shingles once it reaches the ice dam. If this happens the water will not penetrate the ice and water shield.

Felt paper

Felt paper is another roll of underlayment that is an asphalt covered paper. This covers the balance of the roof decking not already covered by ice and water shield.

Starter shingles

Starter shingles are applied over the drip edge around the perimeter of the roof. They provide for clean lines and a surface for the shingles to adhere to.

Roof shingles

The most common shingles used today is the architectural shingle. The older style three-tab are also available, but have a shorter warranty. The designer style shingles are a premium product and come in several different styles beyond the one shown.

architectural-shingles-lg
Architectural Shingles

designer-style-shingles-lg
Designer Style Shingles

3-tab-shingles-lg
3 Tab Shingles

Pipe flashing

Used to seal around pipes protruding through the roof surface.

Lead flashing

Used mostly on chimneys to prevent water intrusion. Mortar is ground out of the chimney to allow the placement of lead inside the joint and it is then resealed.

Step flashing

Used to prevent water intrusion where shingles meet with side walls.

Ridge vent

A common form of roof top ventilation.

Hip & ridge shingles

The last shingles applied. These are different from roof shingles in shape and size. They are used on any roof peaks.

A Bit About Roof Ventilation

I want to briefly talk about roof ventilation which I feel is sometimes overlooked. Proper ventilation is required in order for shingle manufacturers to honor their warranty. Inadequate ventilation can cause premature failure of shingles and mold issues in your attic. As you can see in the diagram, the hot air in your attic is lighter than the relatively cooler air outside. This allows natural airflow out of the top of the roof via either a ridge vent, exhaust vent, or gable vents. Ventilation at the soffits aid in this flow by replacing the hot air that needs to escape. The soffit vents and ridge vent are dependent on each other and proper airflow cannot be achieved without them both. If your home does not already have soffit ventilation it should be installed or in most instances vented drip edge can be used to achieve the same air flow characteristics.

The Process

Don’t be in the dark about exactly what will go on during the installation of your new roof. These are the procedures and minimum product application practices we perform on all of our jobs.

Step 1

On the morning that we begin your installation we will have the materials and dumpster delivered. On some occasions this may be done the day before depending on vendor scheduling constraints. Dumpsters are placed in a location approved by you and we always place planks under its wheels so we do not mark your driveway. The roofing materials are either placed in a location approved by you or they are hoisted onto the roof with a crane.

Step 2

Before we begin stripping your old shingles we will cover your home with tarps so falling shingles do not hit your home. The tarps are typically extended to cover the bushes around your home when possible. We then strip off the old shingles and underlayments down to the wood roof decking.

Step 3

We now inspect the roof decking to determine if any of the wood needs to be replaced due factors such as water or insect damage. We will bring any damage to your attention, advise you on the recommended course of action, and address the issue as you instruct us. If any loose roof decking is observed during this inspection it will be re-nailed. Roof flashing on chimneys and sidewalls will also be inspected and if determined to be in poor condition you will be advised.

Step 4

With a good base to work on we begin the installation process. This starts with installing new aluminum drip edge around the perimeter of your roof. The ice and water shield is then applied over the eaves of the home as well as on roof valleys, sidewalls, and roof openings such as skylights and vents. Next the felt paper is installed over the rest of the roof deck. Starter shingles are then nailed around the perimeter of the roof to provide clean lines. New flashings are installed around vent pipes and if needed, new lead flashing is installed around chimneys along with step flashing on sidewalls. Skylights would also be replaced if desired. Finally it is time to install your new roof shingles.

Step 5

Once all of the roof shingles are installed all the way up to the peak of the roof it is time to install the ridge vent if one is being utilized. The last step in the installation is to install the hip and ridge shingles. These are utilized on all of the roof peaks on the home.

Step 6

With the installation all done the final important step is the cleanup. While the roof is being installed all of the old shingles are being loaded into the dumpster. With all of the shingles loaded we then rake up the smaller particles of roofing on the ground. To remove the nails we go around with a big magnet on wheels which pulls them off of the ground. Any dust is swept up and/ or removed with a blower.

Step 7

Enjoy your new roof and the honest, professional, and hassle free process of installing it. Submitting a review of your experience on Yelp, Home Advisor, or Facebook is always appreciated and a great resource for fellow homeowners. Don’t forget to refer us to others and earn an easy $100.

Most roof installations take one day from start to finish. We provide all the materials agreed upon in the contract and dispose of all the construction debris. Contact us for a free estimate that will detail the specific components and installation procedure for your home.

A glimpse of the roofing process

We can install any brand you would like, but here are some popular roofing brands we use:

[ testimonials ]

What People Say

Anna Paulina
Anna Paulina
Anna Paulina

Delivering Exceptional Roofing, Siding, and Window Installation Services